Showing posts with label Photoshop. Show all posts

Nov 11, 2014

{ Women Photoshopped Herself Into Mom Old Photos }

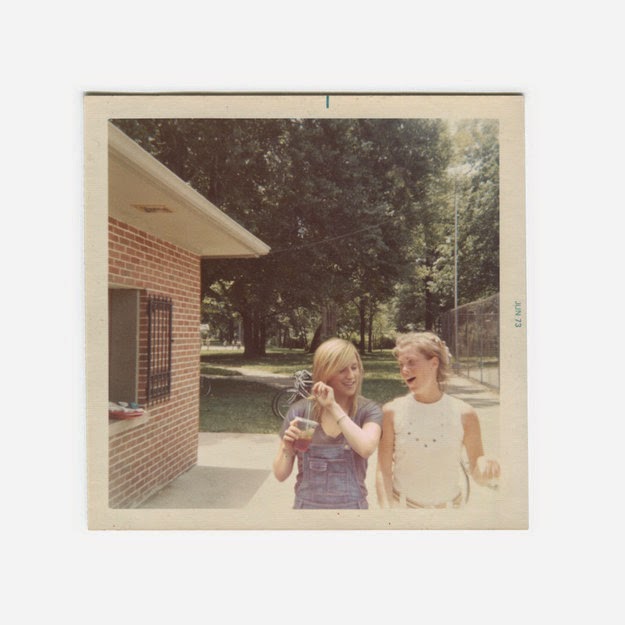
 The other day as I was playing around on the Internet I came across an article that really stood out to me. An art director in Portland, Oregon named Danielle Delph has been doing something that I can see numerous people trying for themselves. She has placed herself in some of her mom old photos. She had always wondered if she would have been friend with her mom if they were the same age.

This has always been something that I have wondered for myself, What if I was at my parents wedding? or What is I was one of the friends in this photo of my mom? Danielle had gone thru numerous pictures of her mom thru the years and had added herself in them. She obvious added herself with the help of Photoshop, in many of the pictures in can be hard to spot Danielle. As a designer and a daughter I would love to take that time and Photoshop myself into my parents and even grandparents old photos, but since this a school semester and I'm a senior in college it seems almost impossible to find the time, plus it took Danielle around six months to complete which is time I do not have at this point in my lie.

Here are some of the photographs that Danielle created the first photograph is a recent picture of Danielle and her mother, see if you can tell them apart in some of the photos.


Nov 9, 2014

{ Weird Photography Tricks }

Some times it can be hard to keep up with all the tips and trick on the Internet when it comes to photography, so here are some tricks that will hopeful help you take some amazing photographs.

{1} No tripod? Just use a lamp instead.

Want to take a group photo but you don't have a tripod to place your camera, just whip the lamp shade off a lamp and screw your camera onto the lampshade holder. The thread size of the bolt on a lamp shade is perfect to fit because its the same size as the filter thread used on tripod making your camera easy to attach.

{2} Put a PEZ Dispenser on your hotshoe.

When it comes to taking photos of children it can be hard to get their attention. Really the only way to get their attention is to give them an old fashion bribe. The perfect solution is to buy a simple PEZ dispenser and put it on the hotshoe of your camera. The base of the PEZ is a tiny bit wider than the standard hotshoe, so you may have to trim it sightly before the shoot. When your ready and most importantly the kids is ready and looking at the PEZ dispenser. You can have them come up and grab a little candy periodically during the shoot.

{3} Day to night in a flash

One trick is to turn up the power on the flash to the max, obviously this will make the subject extremely bright. If you change the camera setting to expose the subject, it will make the background look extremely dark because the flash didn't hit it. This makes it look like it's night time even if  it's the middle of the day. Click here to read more about this technique 

{4} Take your lens off for macro photography

If you take off your lens and hold it in front of the camera, you get a macro lens. There are four things you need to know about using this trick. {1} Your camera won't take a picture with the lens off unless you're in manual mode. {2} The best focal length seems to be around 50mm or an 18-55mm kit lens. {3} You will lose auto focus since your lens isn't attached to the camera.You can gain focus by moving closer or further away from the subject {4}The camera can't open up the aperture, so you'll have to do it with your hands.

{5} Delete tourist from your travel photos

This is an awesome trick for travel photograph. {1} Set your camera on a tripod. {2} Take a picture every 10 seconds until you have about 15 shots, depending on how fast people are walking around you. {3} Open all the images in Photoshop by going to File > Script > Statistics. Choose "median" and select the files you took. {4} Photoshop finds what is different in the photos and simply removes it. Since the people moved around, it fills the area where someone was standing with part of another photo where no was there. If your working in the Photoshop Extened or the Creative Cloud version of Photoshop, Step 3 is a bit different you go to Enhance > Photomerge > Scene Cleaner.

{6} Shaped bokeh out of paper

This is a simple way to change the shape of light that is shown in your image. All you have to do is cut out a piece of black paper the size of the front element on your lens. Then use a razor blade to cut a shape on in the middle of the paper. The shape should be slightly larger than a thumbnail or around the size of a nickel.

Hopeful these tricks come in handy in your next photograph adventure.

Oct 29, 2014

{ Adobe Photoshop Shortcuts }

Around a month ago I posted a couple shortcuts for Adobe Illustrator and Adobe InDesign. So it's about time to post the shortcuts for Adobe Photoshop. Hopeful this can help other Graphic Designers when it comes to memorizing and keeping track of shortcuts.


Sep 26, 2014

{ PSD Cover a Designers Best Friend }

Recently I have been working on my Senior Resume, Business Cards and Portfolio, as any graphic designer can tell you creating all of this is not as easy as it may seem. One of the hardest things to create from scratch is the layout for the portfolio. Having to organize the images you wish to showcase and having to come up with write ups to make them pop can be super time consuming, especially if you don't really have all the necessary things you need to create the portfolio of your dreams. One of the biggest problems with my layout was the images, many of my designs were unfortunately lost in the flash drive incident of 2012, so all I have left of them are simple JPEGS. I really needed a miracle to help me. Lucky for me I have a good knowledge when it comes to Photoshop and overheard my design professor talk about a new website that uses Photoshop actions to create 2D rendering of your 1D layout. When I heard this I thought it would be too good to be true. As soon as I got home that day I rush to the website to give it a try, the first try was kind of a letdown, but I kept on trying. After three hours I final finished one piece, the down side was I had about 20 more to go. As I kept trying, the better I got, I even became in my own option an expert of the website. Now classmates come to me with their question on the subject. I highly suggest http://www.psdcovers.com/ to other designers and anyone who wants to see a 1D image become 2D {with in reasons}. Just so you can have a better idea of how it works here are some examples of my work, both the image layout and then the final piece. I would love to know how the website works for you guys so feel free to leave a comment. It can be anything from questions on how it works to how much you love it. 


{ Book Cover Design }


{ Advertisement Layout }